
Getting started with the SDK
You'll need Node.js and npm installed on your machine to install the Flourish SDK. The current SDK requires Node.js >=18.0.0 and npm >=9.0.0.
You can check your installed versions with:
node --version
npm --version
Install the SDK
npm install -g @flourish/sdk
Check the SDK installed correctly with:
flourish --version
Create a new template
flourish new my_template
Using an AI coding agent? The experimental Flourish SDK AI Starter Kit can build a first version from an image or short brief. If you already have a template, you can add the kit's
AGENTS.mdfile to give compatible agents persistent Flourish SDK guidance.
Run a template
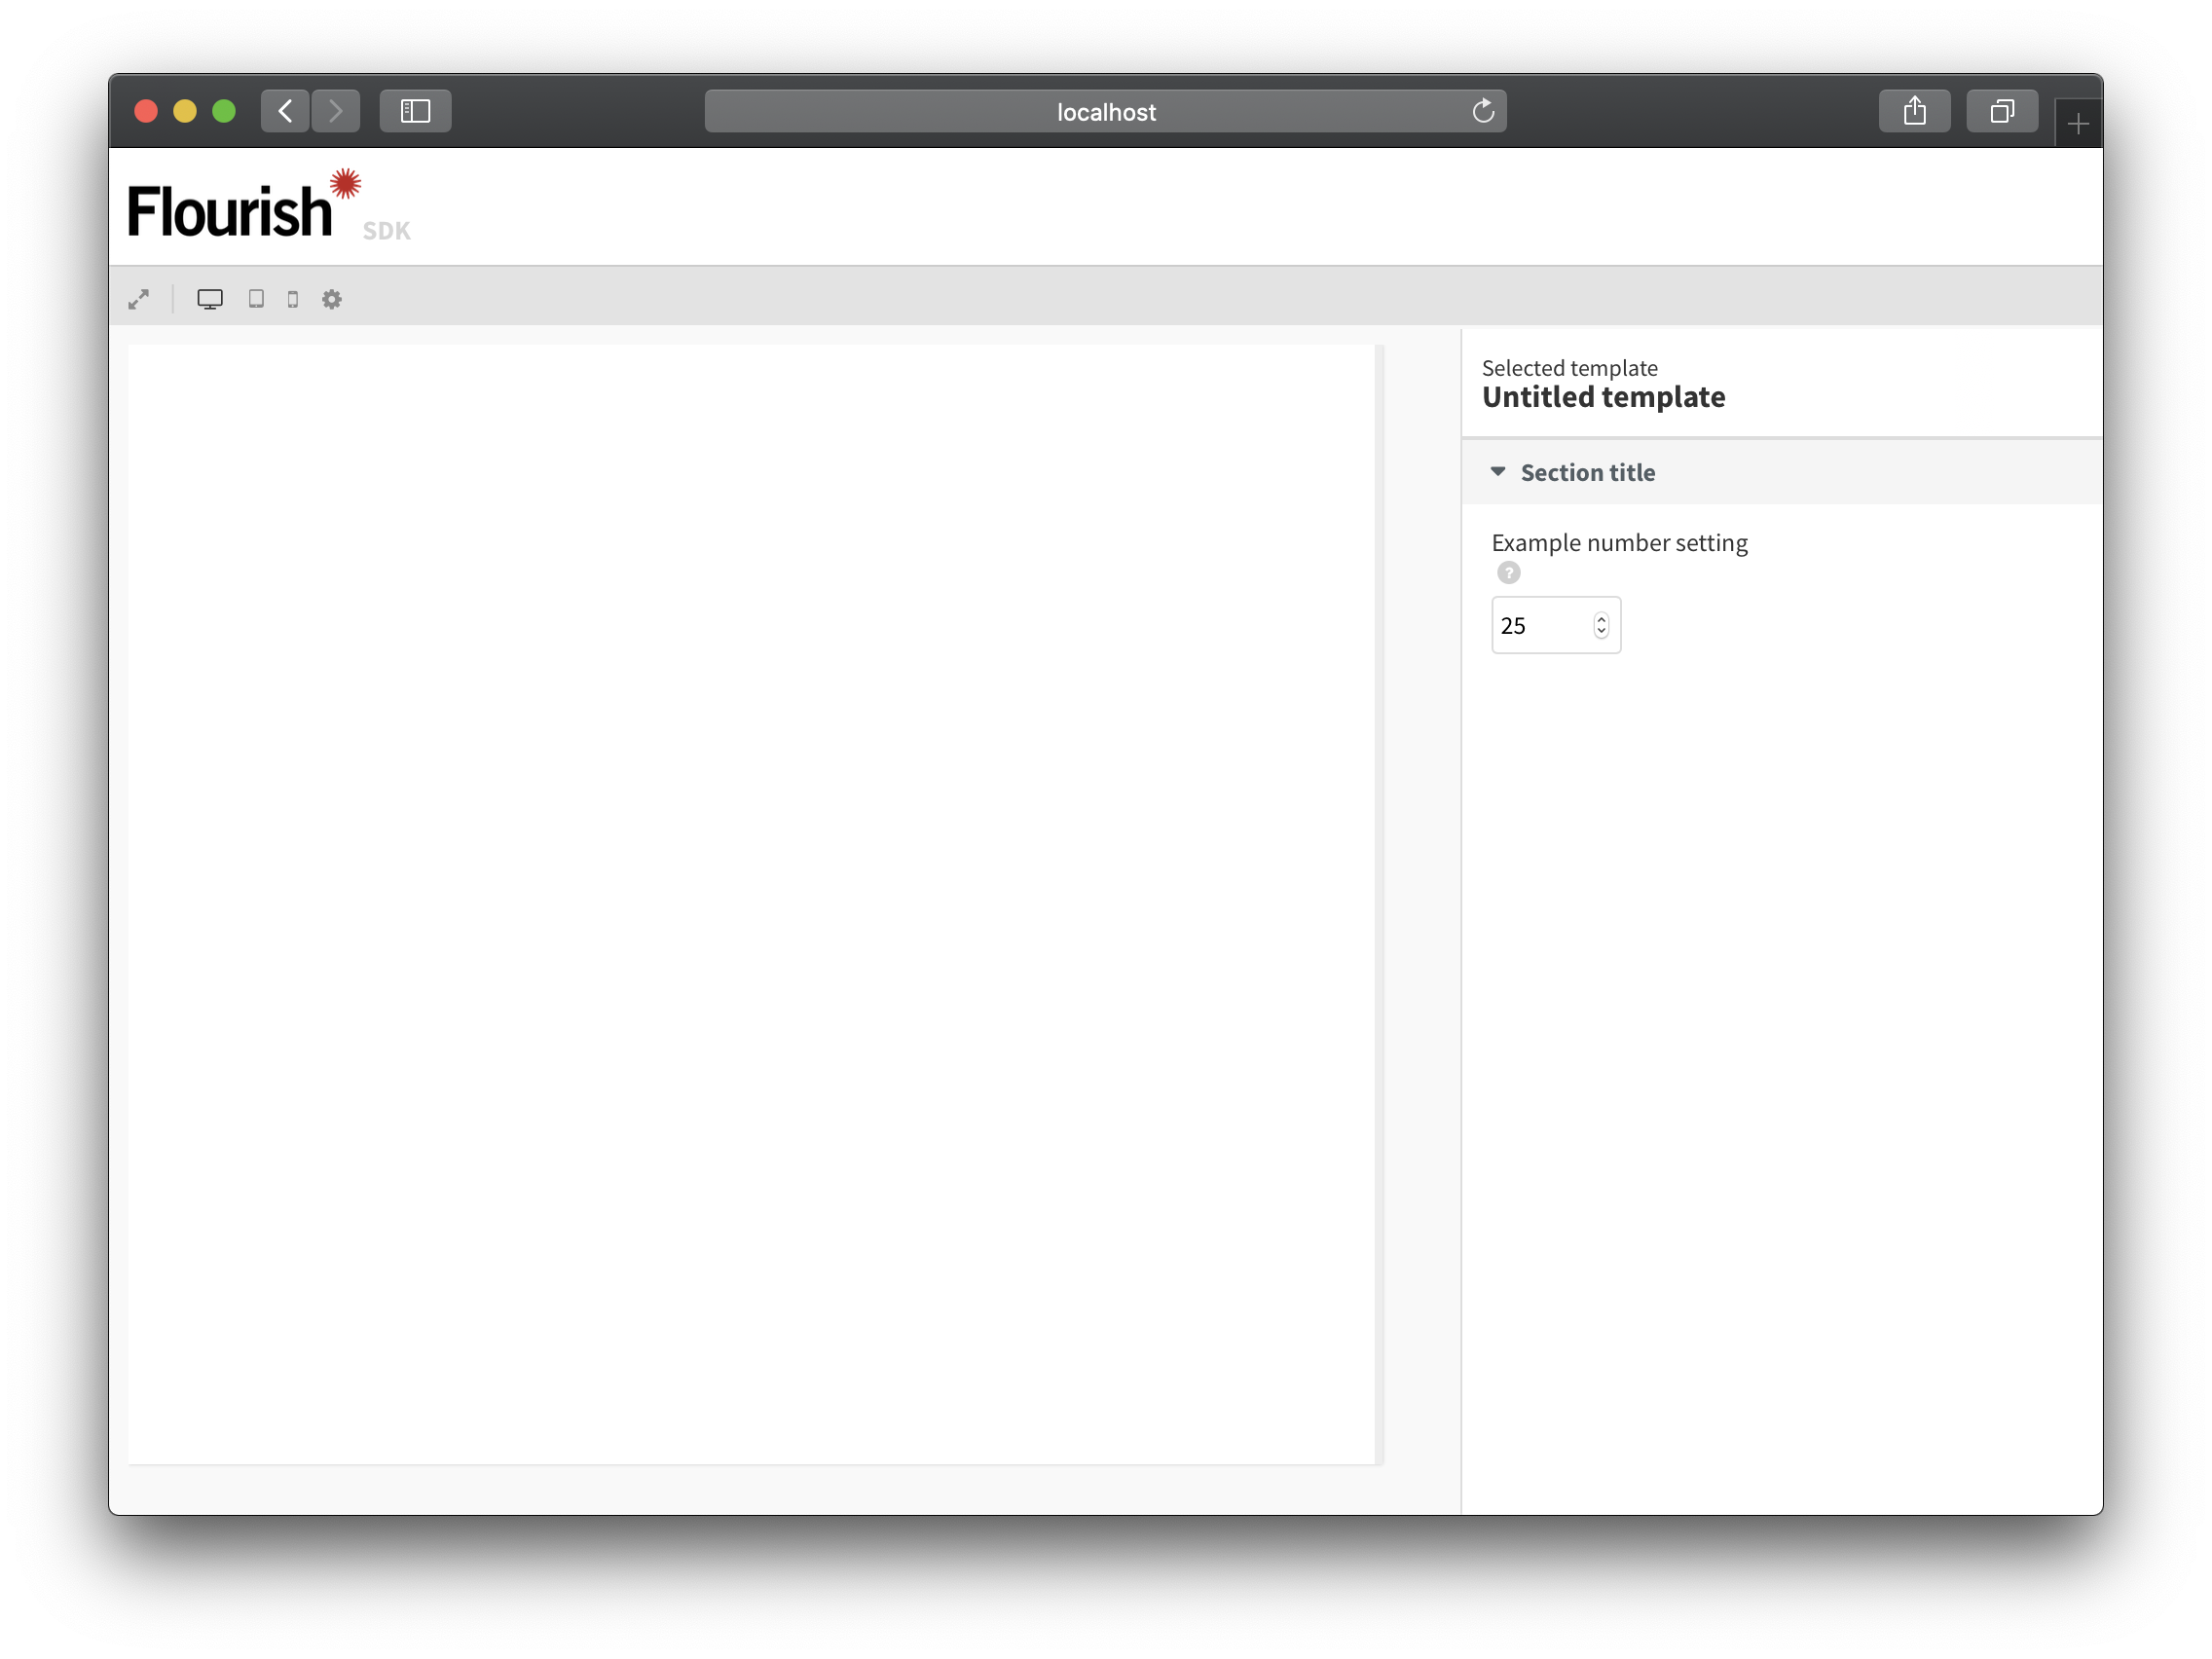
cd my_template and flourish run. Your project should now be running on localhost:1685. You should see an empty preview window and a settings panel on the right-hand side.
Edit a template
First, open src/index.js, and you'll see the top-level Flourish structure:
- the
dataobject, that's where user-editable data tables will be stored - the
stateobject, which stores the visualization's current state - the
draw()function, which is called once when the visualization loads - the
update()function, which gets called every time the data or state changes
Publish a template
Before publishing, you'll need to register for Flourish. If your company already has a Flourish account, check with your company admin for your login details.
Then log in with:
flourish login
You can check which account you're logged in as with:
flourish whoami
Then run cd my_template and flourish publish.
Next steps
You should have your first Flourish project up and running.
- For more information about which files were just created and what they do, have a look at the Flourish template file structure
- If you wish to explore more SDK commands beyond
flourish newandflourish run, have a look at the SDK commands overview - To accelerate a first build with an AI coding agent, try the Flourish SDK AI Starter Kit
In the next pages we are going to look at how the settings panel and data selection work.